Mothman Thesis Production Blog Week 30
- Avery Buffington
- Feb 9, 2024
- 4 min read
Character Texturing: 1/31/2024 - 2/2/2024
This week my goals included baking the high poly character mesh in Substance, investigate namespace matching and cage files for Substance baking if necessary, and get a rough first pass of the character textures.
At first I was getting some strange artifacting in the backing process and I wasn't sure what was causing it, it appeared to be connected to the AO and the proximity of objects.
I reached out to some peers and some professional discord servers to try to field some answers, as well as looking on the Substance forum online. It appeared that I was having some issues with how far of a distance the bake should calculate rays for AO and a couple other maps. The two solutions presented were to try baking by mesh name matching, or to make a cage file. I initially tried the mesh name matching but I'm not sure I fully understood the intricacies of how each mesh and group needed to be named because I couldn't quite get them to line up in the Substance bake menu.

I then looked into a few tutorials on how to make a cage, which seemed to be highly recommended on YouTube for getting "perfect bakes", which entailed creating a duplicate geo group and scaling all of the vertices up along their normal to create a "puffy" version of the mesh just big enough that it encompasses the difference between the high and low versions of the mesh. I tried doing this and then baking it with the new cage file in Substance but I'm not sure I did that right either as it gave some very strange looking artifacting that was much worse than the original issue. I would be interested into delving more deeply on figuring out how to build cage meshes that work in Substance painter to improve artifacting and be able to solve this issue in the future, however, in order to accomplish my goal of making a texture pass in a decent amount of time, I decided to do a workaround method where I ended up just texturing on the high poly model that has identical UVs, with the plan to export the textures and then just apply them to the low poly model. In order to do so I ended up exporting the textures off the high poly model, and then importing them into a Substance scene with the low poly model, baked it with the high poly model (including the minimal bake errors) and then exporting them again, just to account for the difference in the normal mapping.
After a few hours of texturing this is the result that I came up with. Not everything is perfect and not everything has been "completed" to my liking, but at the very least everything has been touched to some degree.
I wasn't super happy with the face as I had tried to emulate the semi-realistic, semi-cartoonish look that most of our assets have with a layer of painterly strokes, bold lines, and color variation. I felt like the styles weren't meshing super well. I asked for a critique from a peer who has successfully created a similar model with gorgeous hand-painting, particularly on the face. The advice I was given was to be less afraid to go more bold with the paint strokes to have it cover the whole face/body, so that the little bits I had didn't stand out so much, even if it is subtle.
Moving forward I hope to incorporate more of the hand-painting into the whole model. However, for the sake of covering my bases first, I exported out a version of the textures to try to apply to the published mesh file in the meanwhile, in case life gets busy.
I brought the textures back into Maya and applied them to the mesh. Usually when I work in substance I err on the side of making things too bold and then reeling them back in since the Substance viewport isn't always super accurate to contrast. However, when I put the textures into Arnold I felt that the details on the face were really bold and dark in a way I didn't care for. When I address some of the hand-painting in the future I'd like to tone it way down and include the advice about making more of it cohesive rather than the face details be too much of a distracting focal point of the textures.
I also was a bit frustrated with how the normal mapping applied to the legs, as I feel like I've been fighting the against the "legging" pants look for a while. I had hoped that the clothing wrinkles and the height variation would be stronger. I fear that it might be a bit too late to change it now that it has weight painting on the Version 2 rig. I will ask my team how flexible the geometry on the legs are to determine if I should pursue trying to create more of a relaxed look for the pants.
Environment Layout: 2/4/2024
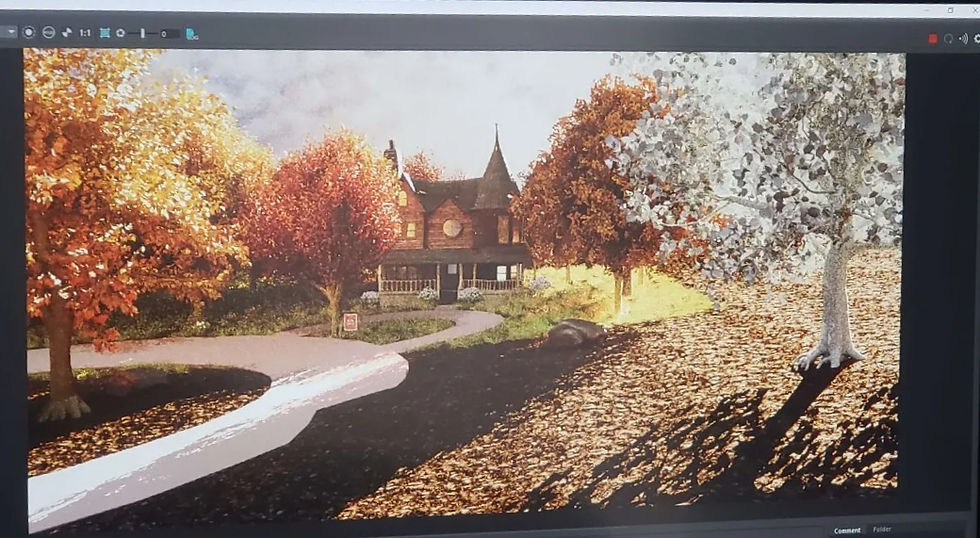
I also worked a bit on expanding the environment to fit multiple camera angles. Originally the grass population ended pretty close after the the "front yard", however, with new feedback on the camera angles at the beginning of the film we decided to pull the camera farther back to heighten the tension and extend the journey to the house. These are various renders that show the in progress state of the environment and the additional ground cover added, as well as some of the camera angles adjusted from prior iterations.


Comments